
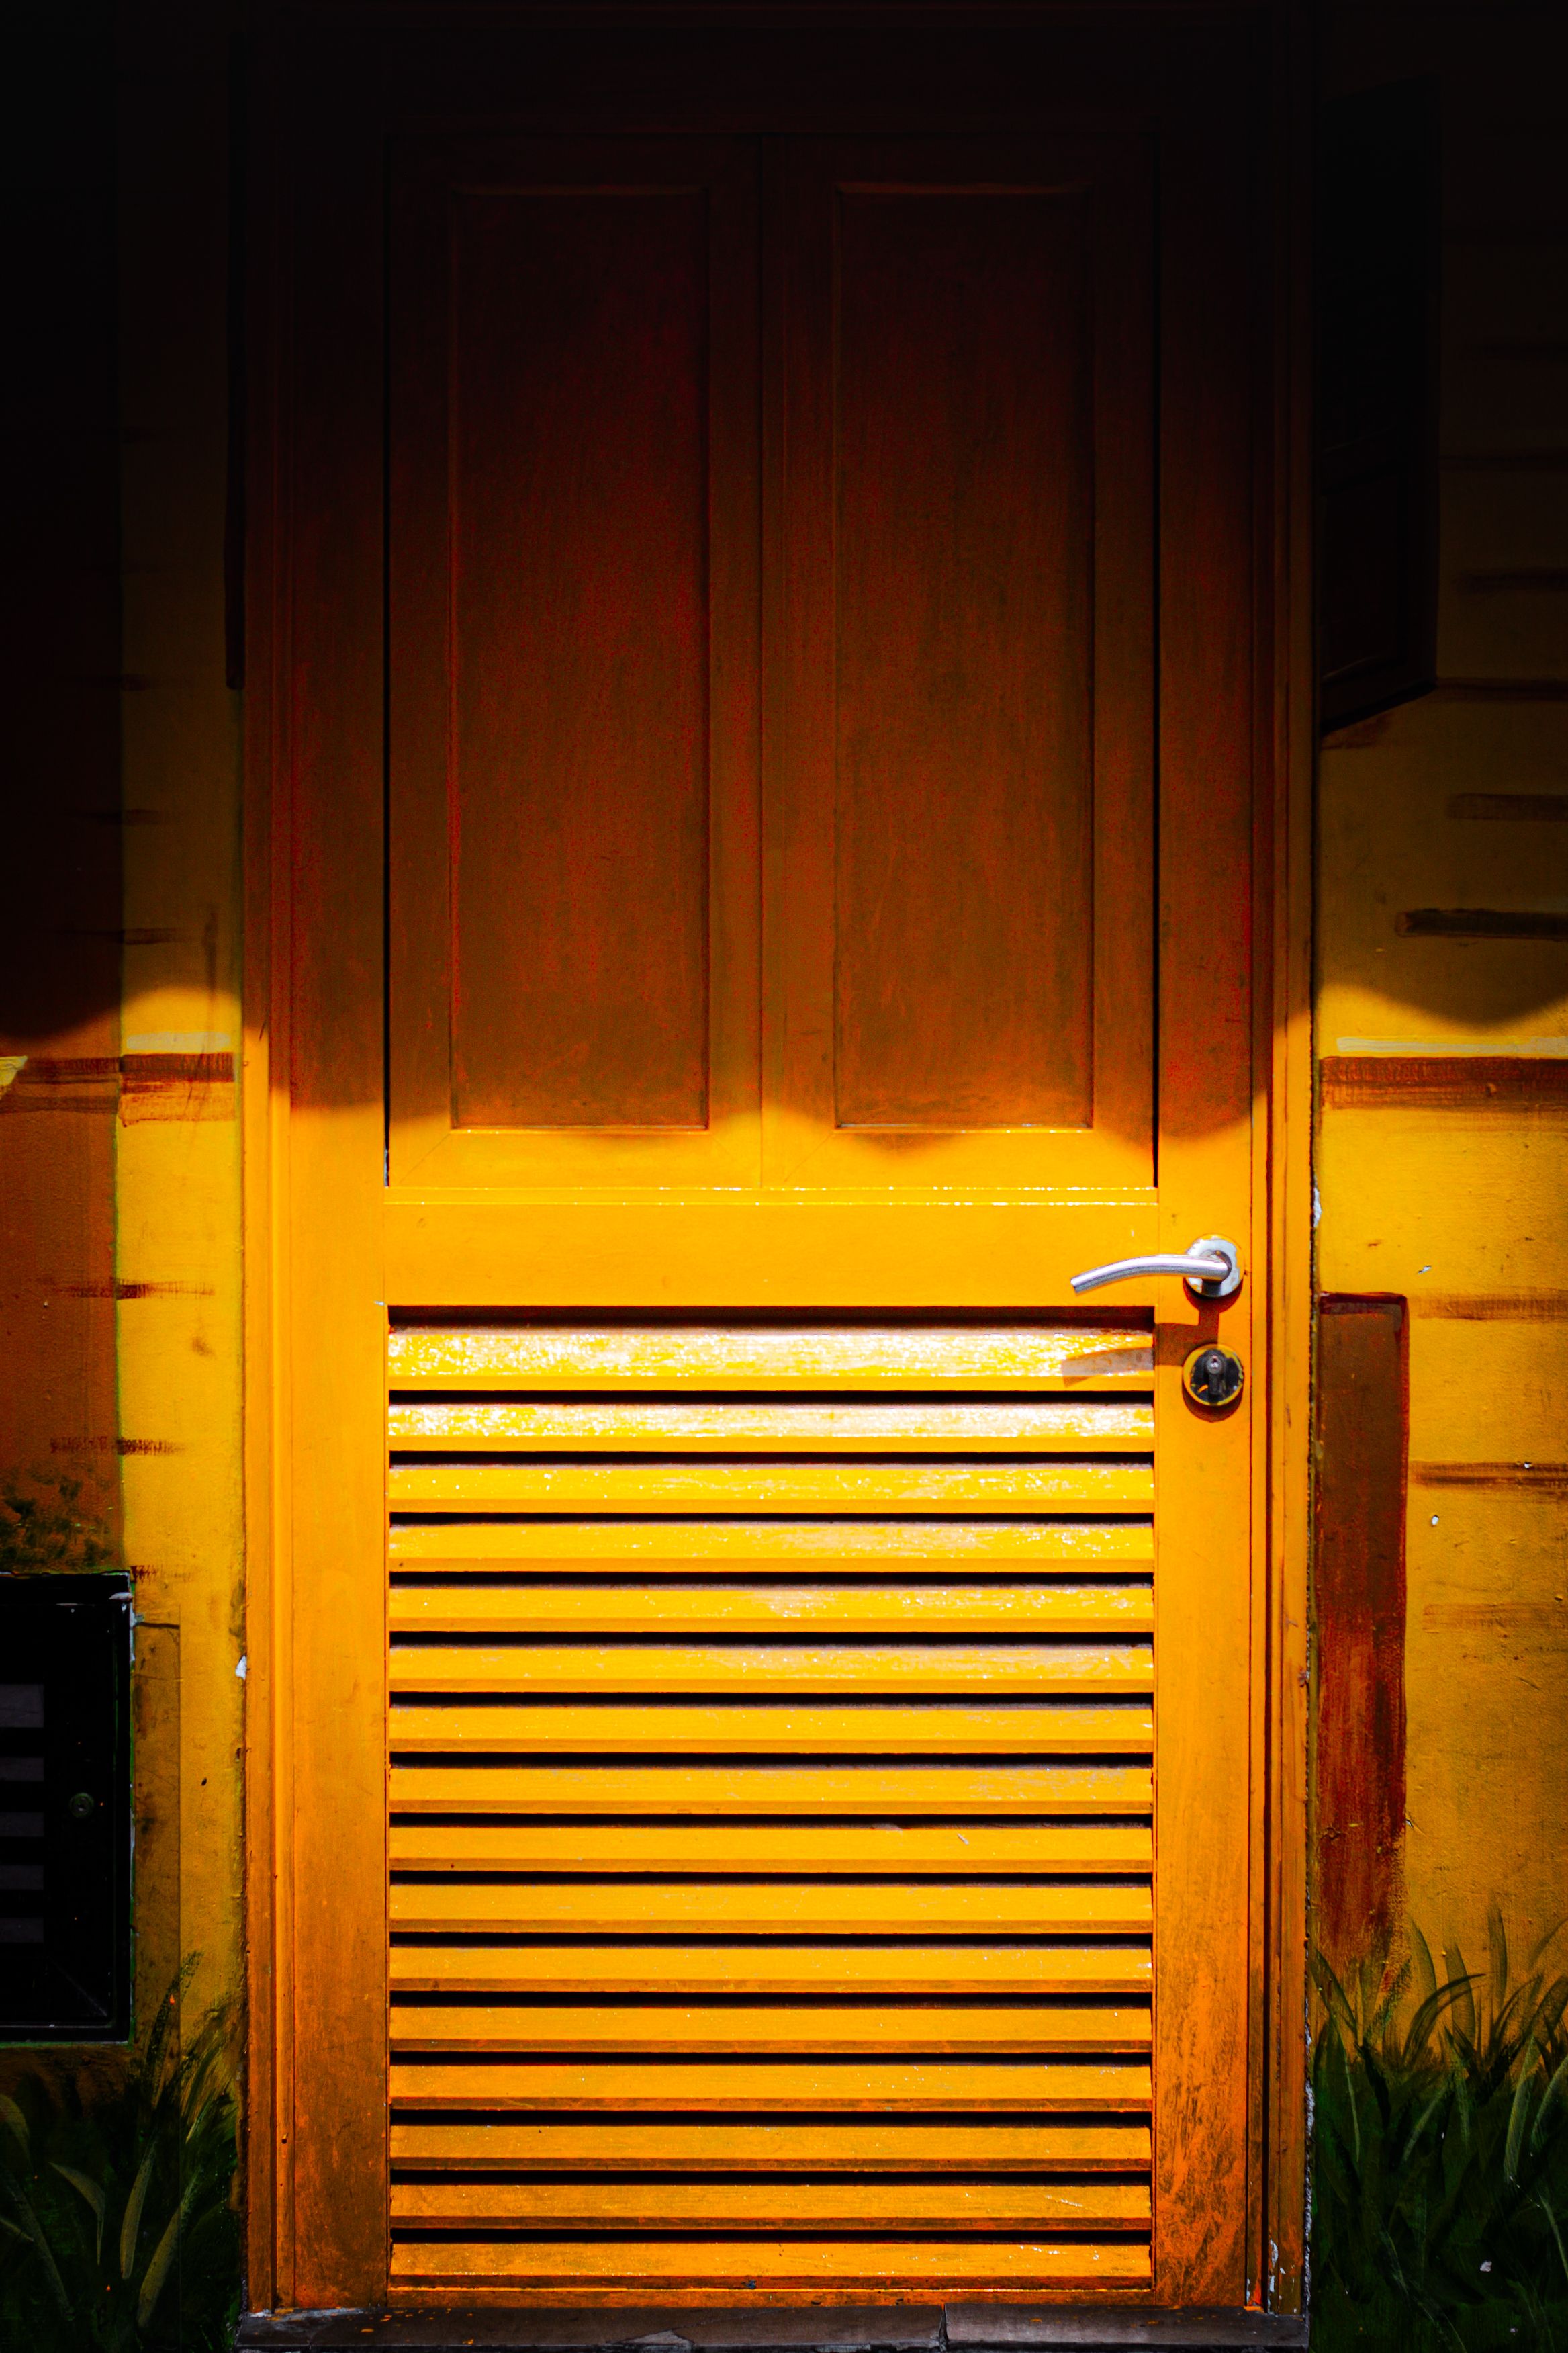
A door interior painted properly will last for years. Sand it, prime it, and finish it in the right order, and it won’t chip around the handle or pick up brush marks. Rushing straight to paint, without prepping the surface first, is the single biggest reason a painted door looks patchy within months. Here’s the full process, done the way a decorator would do it.
What You’ll Need
- Fine-grit sandpaper (120–180 grit) or a sanding sponge
- Sugar soap or a degreasing cleaner
- Wood filler, for any dents, dings, or old fixing holes
- Painter’s tape
- Primer/undercoat suited to the door material
- Interior door paint, in satin, eggshell, or gloss finish
- A good angled brush, plus a small foam roller for flat panels
- Dust sheet and a stable place to lay the door flat
Step 1: Remove the Door (Recommended)
Lift the door off its hinges. Lay it flat on trestles. This gives a far more even finish than painting it upright, since paint won’t sag or drip down a vertical panel. Remove handles, hinges, and hardware first. Or mask them thoroughly with painter’s tape if the door stays hung.
Step 2: Clean and Sand
Wipe the door down with sugar soap. This removes grease and everyday grime, especially around the handle. Once dry, sand the whole surface lightly. This isn’t about stripping old paint back — it’s about breaking the surface so new paint can grip. Wipe away dust with a tack cloth before moving on.
Step 3: Fill and Fix Imperfections
Fill any dents, old screw holes, or chips with wood filler. Let it cure fully, then sand it flush. Skipping this step is the most common reason a painted door still looks tired, even with a fresh coat on top.
Step 4: Prime
Apply a coat of primer or undercoat suited to the door’s material. Bare wood, MDF, and previously painted surfaces each need a slightly different primer. This step matters even more when the colour is changing dramatically, such as painting a pale door black. Undercoat stops the old colour bleeding through.
Step 5: Paint in the Right Order
On a panelled door, work from the inside out:
- Paint the recessed panel mouldings first, using the angled brush
- Then the flat panel faces, with light, even strokes
- Then the vertical stiles (the outer edges), finishing top to bottom
- Finally, the top and bottom edges of the door
Two thin coats beat one thick coat every time. A thick coat is more likely to sag, show brush marks, or take far longer to dry.
Step 6: Let It Cure Before Rehanging
Touch-dry doesn’t mean cured. Most door paints need 24–48 hours before the door can close against the frame safely. Even if it feels dry after a few hours, closing it too soon risks sticking or marking the finish.
Common Mistakes to Avoid
- Painting over grease or dust without cleaning first — the paint picks up texture and won’t level out
- Skipping primer on a big colour change — old colour can bleed through, especially with red or dark stained doors
- Overloading the brush — leads to drips along panel edges and the handle cut-out
- Rehanging too soon — the door can stick to the frame and peel paint off both surfaces
Frequently Asked Questions
Can I paint a door without removing it from the hinges?
Yes, but expect more visible brush marks on vertical panels, since paint can start to run before it sets. It’s manageable with thin coats. Still, removing the door gives a noticeably smoother result.
How many coats does an interior door need?
Two coats of finish paint over one coat of primer is standard. Add a third coat if you’re covering a much darker existing colour.
What’s the best paint finish for a door that gets a lot of use?
Satin or eggshell. It holds up better to handle marks and daily wear than matt, and it’s easier to keep clean than full gloss, which shows every fingerprint.